Showing posts with label Baking. Show all posts

Sunday, February 12, 2012

7 Gluten Free Chocolate Cherry Cake


Hi everyone! I hope that you're having a wonderful weekend! To continue the theme of the month, #chocolatelove, here's a delicious recipe that's perfect for Valentine's Day this week. It's a tasty yellow cake filled with a chocolate cherry filling and frosted with a whipped chocolate frosting. For this cake I like to take the batter for a 9in round pan and make 4 smaller round cakes out of it. It's a great technique for making gluten free cakes that cook evenly and don't sink in the middle. I hope you enjoy this recipe!

The cake recipe is based on Ruhlman's Ratio for sponge cake, and the whipped chocolate frosting recipe is located here.

Servings 2 4"inch 2-layer cakes
Prep Time 30 minutes
Bake Time 25 minutes

Ingredients
Yellow Cake
4 eggs and 1 yolk, room temperature
8 oz sugar
2 tbsp lemon juice
2 tsp vanilla
2 tsp baking powder
3 oz white rice flour
3 oz potato starch
2 oz tapioca flour
2 sticks melted butter, room temperature

Cherry filling
1/4 cup cherries, halved and pitted
1/4 cup white wine
2 tbsp lemon juice
3 tbsp sugar
1/2 cup of whipped chocolate frosting


Steps
Preheat the oven to 350F. Grease and dust either 1 9inch round cake pan or 4 small 4inch springform pans.

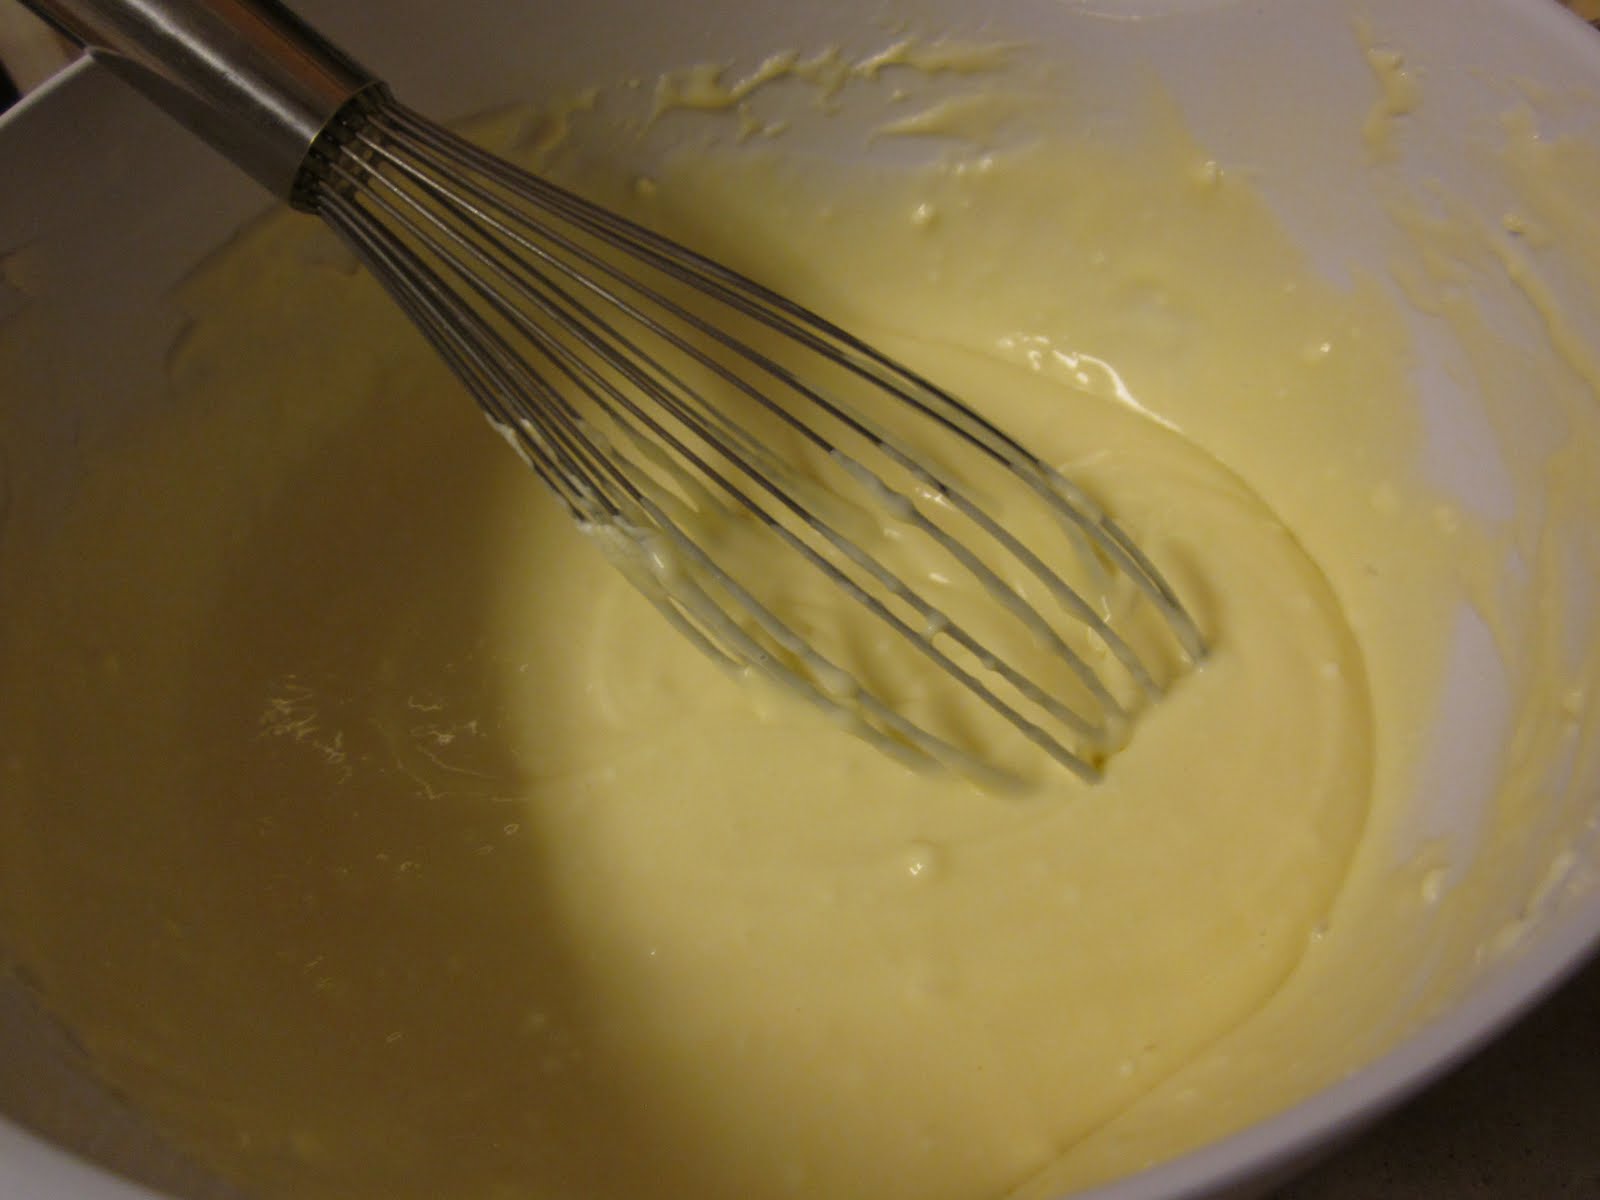
Combine the eggs, sugar, juice, and vanilla. Whisk for a few minutes until the eggs have tripled in volume. In a small bowl, combine the powder, flours, and starch. Fold the flour into the egg mix, 1/2 a cup at a time. Once combined, pour the butter into the batter and fold until combined. Pour the batter into the prepared pan(s). Bake for 20 minutes in the smaller pans (30 minutes if using a 9inch pan), or until a toothpick inserted comes out clean. Remove from the oven and let cool.
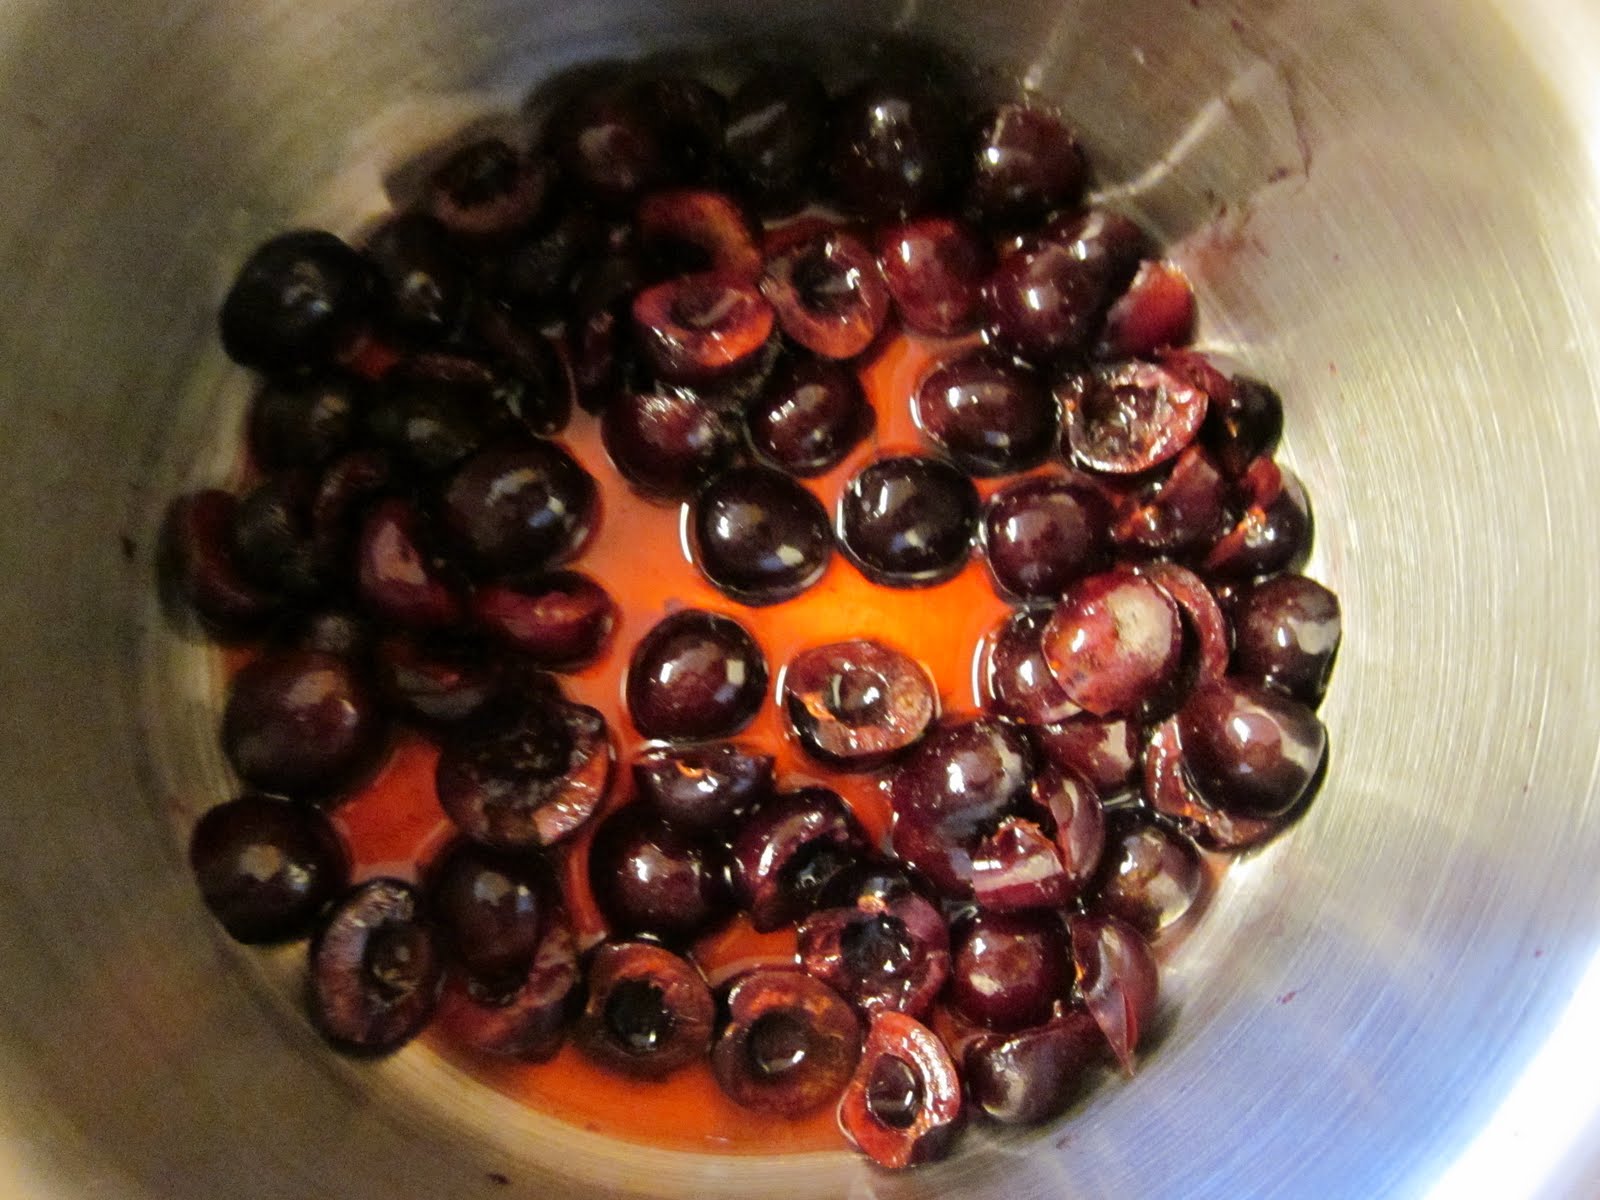
In a small sauce pan, combine the cherries, white wine, juice, and sugar. Cook over medium low heat, stirring occasionally. Cook the cherries for about 20 minutes, or until the flesh is soft and tender. Remove the sauce from the heat and let cool to room temperature.
Once cool, fold in the 1/2 cup of frosting. If using 1 9in pan, use a knife to separate the cake into 2 layers. To assemble the cake:
Place the bottom layer onto a plate. Place a sizable amount of the cherry filling onto the cake and spread. You want this layer to be between 1/4 to 1/2 an inch. 
Place another layer on top upside down, so that the flat bottom of the cake creates a smooth surface on the top. 
Finally frost and enjoy your cake! Keep in the refrigerator for up to 2-3 days to preserve freshness.

Sunday, November 27, 2011

1 Friendsgiving Part 2


Hi everyone! I hope you have all survived work the past couple days in the week after Thanksgiving. Last year my friends and I decided to have a Friendsgiving (Thanksgiving with Friends) and that was so successful that we decided to hold another one!
Photo courtesy of Mary Ryan
This year I made the turkey and stuffing once again, while everyone else brought something to the potluck (including a delicious gluten free pumpkin pie!) We had a wide assortment from jello salad, delicious brussel sprouts, corn pudding, green bean casserole, and so much more!
Another of Mary Ryan's photos...delicious!
Also, thank you to Mary Ryan for 90% of these photos. They are all amazing photographs that I had to use for this post!
Mac and Cheese Recipe (not gluten free)
Here is a photo from Mary's macaroni and cheese, it looked delicious, and I am determined to figure out how to make it gluten free...as well as Oren's sweet potato hash dish. I could eat the entire dish of them, soooo delicious!

Such a tasty salad. And quite colorful.


As for my contribution, I wanted to share the recipe for my gluten free stuffing. It's easy to prepare, absolutely delicious when stuffed in a turkey (I know there's possible health risks, but you just cannot beat stuffed stuffing. #BestThanksgivingSideEVER). However, you can just as easily bake the stuffing inside of a dish as well. If you have fresh herbs available, I recommend using fresh herbs. Something about the aromatics of fresh herbs elevates the vibrant delicious taste of stuffing.

Serves 6
Prep Time 15 minutes
Cook Time Stuffed, duration of the turkey or chicken it is stuffed within. Dish, 30 minutes

Ingredients
1 loaf of your favorite gluten free white bread. I recommend Whole Foods brand if available, cubed
3 tbsp dried oregano
2 tbsp olive oil
1 yellow onion, diced
3 cloves garlic, minced
4 stalks celery, diced
1 Pink Lady apple, diced
2 tbsp rosemary, diced
1 tbsp sage, diced
2 tsp thyme, diced

Steps
Preheat an oven to 350F. Line a baking sheet with aluminum foil, and lay the bread out in a single layer. Coat with the oil and oregano, and toast for 7 minutes.

While the bread toasts, sautee the onions and garlic over medium heat until the onions are translucent. Add the celery and cook for another 3 minutes.

Once the bread is out of the oven, place them into a bowl and combine with the onion, garlic, celery, apple, and herbs. Season with salt and pepper.

For a stuffed preparation, stuff the prepared turkey or chicken, and cook the bird as intended, adding another 5-10 minutes cooking time per pound due to the stuffing. Alternatively, bake the stuffing in a greased baking dish for 30 minutes.

I hope you enjoy, and happy December!

Wednesday, September 21, 2011

0 Gluten Free Mascarpone Cheesecake


Hey everyone! Here's a recipe that I have for gluten free mascarpone cheesecake. It takes inspiration from these two recipes: http://www.epicurious.com/recipes/food/views/Mascarpone-Cheesecake-108903 and http://www.foodnetwork.com/recipes/giada-de-laurentiis/mascarpone-cheesecake-with-almond-crust-recipe/index.html

This recipe makes 3 4 inch cakes, which is great for portion control! Also, if you don't want to pay as much for the mascarpone, feel free to substitute sour cream for it! I hope you enjoy!

Servings: about 8-12
Prep Time: 20 minutes
Cook Time: 50 minutes
Inactive Prep Time: Overnight
Requires: 3 4 inch spring form pans or 1 9 inch spring form pan

Ingredients:
1 1/2 cup gluten free graham cracker crumbs
1/4 cup sugar
6 tbsp butter, melted

8 oz cream cheese, room temperature
8 oz mascarpone cheese, room temperature
3/4 cup sugar
2 eggs
1 tbsp vanilla


Steps


Preheat the oven to 350F. Mix the crumbs, sugar, and butter, and evenly distribute the mix in the spring form pans. Tightly line the perimeter of the pans with aluminum foil, and place them into a 3 inch deep baking dish. Bake for 5 minutes.


In a medium bowl, combine the cheeses, sugar, eggs, and vanilla until smooth. Distribute evenly throughout each pan, and fill the baking dish with water until it reaches halfway up the sides of the pans. This water bath will help the cakes bake evenly. Bake in the oven for about 50 minutes, or until the centers gently jiggle when agitated.
Remove the pans from the oven, and let the pans sit on a cooling rack for an hour. Remove the aluminum from the sides, and refrigerate overnight. Serve with fresh whipped cream or your favorite fruit sauce!

Sunday, August 21, 2011

2 Gluten Free Smores Brownies

I will have to say, I love the Scheduled Posting Feature that Blogger has. With my 46 hour work week coming up, it'll be the only way I'll be able to post recipes over the course of this week!

As promised on Google+ (my public profile is located here) I'm posting my adaptation for Gluten Free Smores Brownies!
Chocolate Fountain?
My friend Mary sent me the recipe that I adapted, written by Homemade for Holman. You can find the link with the recipe here. I really didn't deviate from the original recipe, I only adapted it to gluten free. Therefore, I wanted to not only share this tasty recipe, but also how I made it gluten free.

For the crust, I substituted wheat graham crackers with Kinnkinnick Gluten Free Graham Cracker crumbs. Not only are they gluten free, but they taste just how I remember graham crackers tasting.
Ended up with a really cool picture of the milk and the oil separated.
For the cake, I did the following:

  • Did not add boiling water at the end
  • Reduced sugar to 1 1/2 cups
  • Substituted the 1 3/4 cup wheat flour with 1 cup white rice flour, 1/4 cup tapioca starch, 1/2 cup potato starch, 1/2 tsp xantham gum
For me, the boiling water made the batter too soupy, and it didn't bake quite right. Also, I prefer my chocolate cakes a little less sweet, so that is why I reduced the sugar.

Well I hope you enjoy this recipe as much as I did. It was the first time I used a butane torch and now I'm excited to use it in other applications.

Also, I've started to experiment more with my food photography, I'd love to hear your opinions!

Wednesday, August 3, 2011

33 Gluten Free Tiramisu Cake


It is time once again for the Gluten Free Ratio Rally! This month Kate from Gluten Free Gobsmacked hosted the event this month, and our assignment was WHITE OR YELLOW CAKE! Yum.
Perhaps the greatest thing I love about the gfreerally (other than the really tasty food that everyone creates) is the access to the knowledge of other food bloggers. I love the ability to work with everyone in researching the proper ratios and what actually makes a traditional white or yellow cake.

For this Ratio Rally Recipe, I use a ratio of:
flour : egg : sugar : fat 
1 : 1 : 1 : 1
Out of this opportunity, I learned of a completely new way of preparing a cake batter to produce a buttery, tender yellow cake. The nice thing with the texture of this cake was that I was easily able to separate it into a layered cake with minimal cracking or breakage.

The main reason I was excited for the white/yellow cake challenge is that growing up my mom had a small business of sort building and decorating cakes. It was part of what got me interested in cooking, and I'm excited to share this sophisticated cake. Feel free to exclude the rum in order to serve without any alcohol.

Please visit Kate's blog for her Gluten Free Basic White Birthday Cake Recipe, and for the complete list of Ratio Rally Recipes!


Prep Time: 1 hour
Bake Time: 40 minutes
Serves: 8-10

Ingredients
Cake
227g eggs (4-5 large eggs)
227g white sugar
1 tsp lemon juice
2 tsp vanilla extract
2 tsp baking powder
85g white rice flour
57g potato starch
28g tapioca starch
28g almond flour
28g brown rice flour
227g melted butter

Syrup
1/6 cup strong coffee, chilled
1 tsp rum

Frosting
5 egg yolks
1 cup sugar
1 cup mascarpone
1 1/2 cup heavy cream

Dark Chocolate for garnish


Steps
Preheat the oven to 350F. Line the bottom of an 8" round cake pan with parchment paper, and grease the bottom and sides of the pan. In a small bowl, combine all the flours.

Fill a shallow dish with warm water, and place an empty medium-sized mixing bowl into the dish. Add the eggs, sugar, lemon, and vanilla, beat for about a minute. Remove the eggs from the water and beat them until they have tripled in volume, which took me about 5 minutes.

Gradually fold the flour into the batter until fully combined. Pour the batter into the pan, and bake for 40 minutes, or until an inserted toothpick comes out clean. Once the cake is baked, remove from the oven and let cool completely. Once the cake is completely cool, run a knife along the edge of the pan and invert into a cooling rack.
While the cake cools, mix together the coffee and rum in a cup. To make the frosting, start a double boiler, and add the egg yolks and sugar. Cook over high heat until the sugar is dissolved, stirring constantly. Once sugar has dissolved, reduce to low heat and continuously whisk for 10 minutes.

After the 10 minutes, remove the custard from the heat and whisk until it has thickened a bit, approximately 1 minute. Fold in the mascarpone until combined. Whip the cream in a chilled bowl until peaks form, and gently fold into the custard until well combined. Refrigerate the frosting until you are ready to frost.


Once the cake is chilled, cut the cake in half so that there are two circle cakes. I have two techniques to recommend for this.
1. If you are scared of dividing the cake, take a long sewing string, and wrap it around the cake.  Gently tug the string until it cuts through the cake and splits it.
2. If you feel a little brave, use a really long, sharp knife to divide the cake in half. Be sure to cut slowly for your safety, and in order to allow you time to make the perfect cut.
Once the cake is divided, carefully place the bottom piece onto a plate. I normally use two large knives to get leverage in between the cake layers. It also never hurts to have a friend lend you some hands in order to safely transport the cake.


Using a pastry brush, brush the coffee onto the cakes, and drench them in the coffee. Let the cakes stand for a few minutes to soak in the coffee.
Now, its time to ASSEMBLE THE CAKE!
Mmmmmm creamy goodness. Favorite frosting ever.
Take a nice, large dollup of frosting and place on top of the bottom layer, and spread smooth. Place the top layer on top, and then secure the layers with toothpicks. I like doing this to prevent the cake from sliding everywhere when you frost it.

Frost the top of the cake, followed by the sides. After I frost the sides, I like to run the knife across the side of the cake for an uniform side at the end. If the frosting starts to melt (especially during the summer), place the cake in the fridge for a few minutes to firm up. Once the frosting is complete, use a potato peeler to shave chocolate on top of the cake.


I hope you enjoy this recipe! Be sure to check out the other Gluten Free Ratio Rally Recipes!

Thanks again to our host this month 

GF Basic White Birthday Cake by Kate @ Gluten Free Gobsmacked

GF Banana Rum Cupcakes with Rum Glaze (alcohol-free!) by Claire @ Gluten Freedom
GF Boston Cream Pie by Britt @ GF in the City   
GF Chocolate Hostess Cupcake Dupes by Erin @ The Sensitive Epicure
GF Chocolate Pistachio Pound Cake by Amie @ The Healthy Apple
GF Coconut Boston Cream Pie Cupcakes by Gretchen @ Kumquat-Blog
GF Confetti Cake by MaryFran @ FrannyCakes
GF Czech Cherry Bublanina by Rachel @ The Crispy Cook
GF Dark Chocolate Raspberry Cupcakes by Caroline @ The G-Spot
GF Frangelico Cupcakes with Nutella by Lisa @ Gluten Free Canteen
GF Fresh-Squeezed Lemon Cake by Caneel @ Mama Me Gluten Free
GF Lemon Poppy Seed Muffins by Marla @ Family Fresh Cooking
GF Lemon Tea Cake by Kate @ KateAlice Cookbook
GF Mocha Buttercream Yellow Birthday Cake by Dr. Jean Layton @ GF Doctor Recipes
GF Nina’s Hot Milk Cake by Charissa @ Zest Bakery
GF Traditional Birthday Cake by Karen @ Cooking - Gluten Free!
GF Vanilla Cupcakes by Winnie @ Healthy Green Kitchen
GF White Cake with Apricots & Blueberries by Brooke @ B and the Boy
GF White Chocolate Cupcakes by Caleigh @ Gluten Freek(k)

GF Cake by Ratio by Shauna @ Gluten Free Girl

Tuesday, May 10, 2011

0 Gluten Free Angel Food Cake


"That angel food cake is amazing! I can't believe it's gluten-free." When I began baking by weights I wasn't sure how the experiment would turn out. Not gonna lie, after receiving that text from a roommate, I've come to love baking with weight ratios. Not only does it make measuring ingredients move faster, but it simplifies the science behind gluten free baking.

This recipe is inspired by Ruhlman's ratio for angel food cake, served with fresh local strawberries. I recommend baking the cakes in small spring form pans. Not only does it reduce the baking time, but it also helps the gluten free cake keep its form once it comes out of the oven.

Yields: 4 4.5 inch cakes
Prep time: 15 minutes
Bake Time: 30 minutes for 4.5 inch pans, 45-50 for traditional 9 inch pans

Ingredients:
340g egg whites (approximately 11 eggs)
340g white sugar
28g millet flour
28g almond flour
14g tapioca starch
42g white rice flour
1/2 tsp cream of tartar
1 tbsp lemon juice
1 tbsp vanilla

Steps:
1. Preheat oven to 350F.
2. In a food processor, pulse half of the sugar and the flours together. 
3. In a large bowl, whisk the egg whites with an egg beater (on medium speed if you have a multi-speed beater) for one minute.
4. Add the juice, cream of tartar, and vanilla to the egg whites. Beat on high for about 2 minutes, or until the eggs are very foamy. Add the remaining sugar to the whites while beating them on high speed. Beat the whites until they form soft peaks when the beaters are removed.


5. From this point on, be gentle with the cake batter, in order to maintain as many bubbles (and therefore as much light fluffiness) as possible. Sprinkle the flour mix into the whites, and gently fold until the batter is combined. Distribute into ungreased pans and place in the oven for 30 minutes, or until an inserted toothpick comes out clean.

6. Once the cakes are done, invert onto a cooling rack and let cool completely. This helps the cakes maintain their form. Once cook, use a knife to gently remove it from the pan. 
7. Serve with whipped cream and sliced strawberries.

HOORAY! Local Strawberries!
I hope you guys enjoy! Let me know what you think in the comments!

Monday, April 25, 2011

2 Gluten Free Lemon Drop Cookies

Photo styled by Mary
Hi everyone! I hope y'all had a good Easter weekend filled with family and relaxation.

This weekend I started reading the Ratio: The Simple Codes Behind the Craft of Everyday Cooking, a book about how many recipes can be reduced to simple ratios based on weight (not volume). For example, in this recipe the base is a ratio of 1 sugar : 2 fat : 3 flour to achieve the texture of a soft, chewy cookie. Also, by adding the egg and the baking powder to the ratio you can achieve a cookie a lighter texture and volume, ideal for springtime.

I hope you all enjoy this cookie, it has a wonderful texture that really melts in your mouth. And special thanks to Mary for being the food stylist for this post!

Yields: 30 cookies
Prep Time: 20 minutes
Cook Time: 15 minutes

Ingredients:
Cookie
2/3 cup sugar
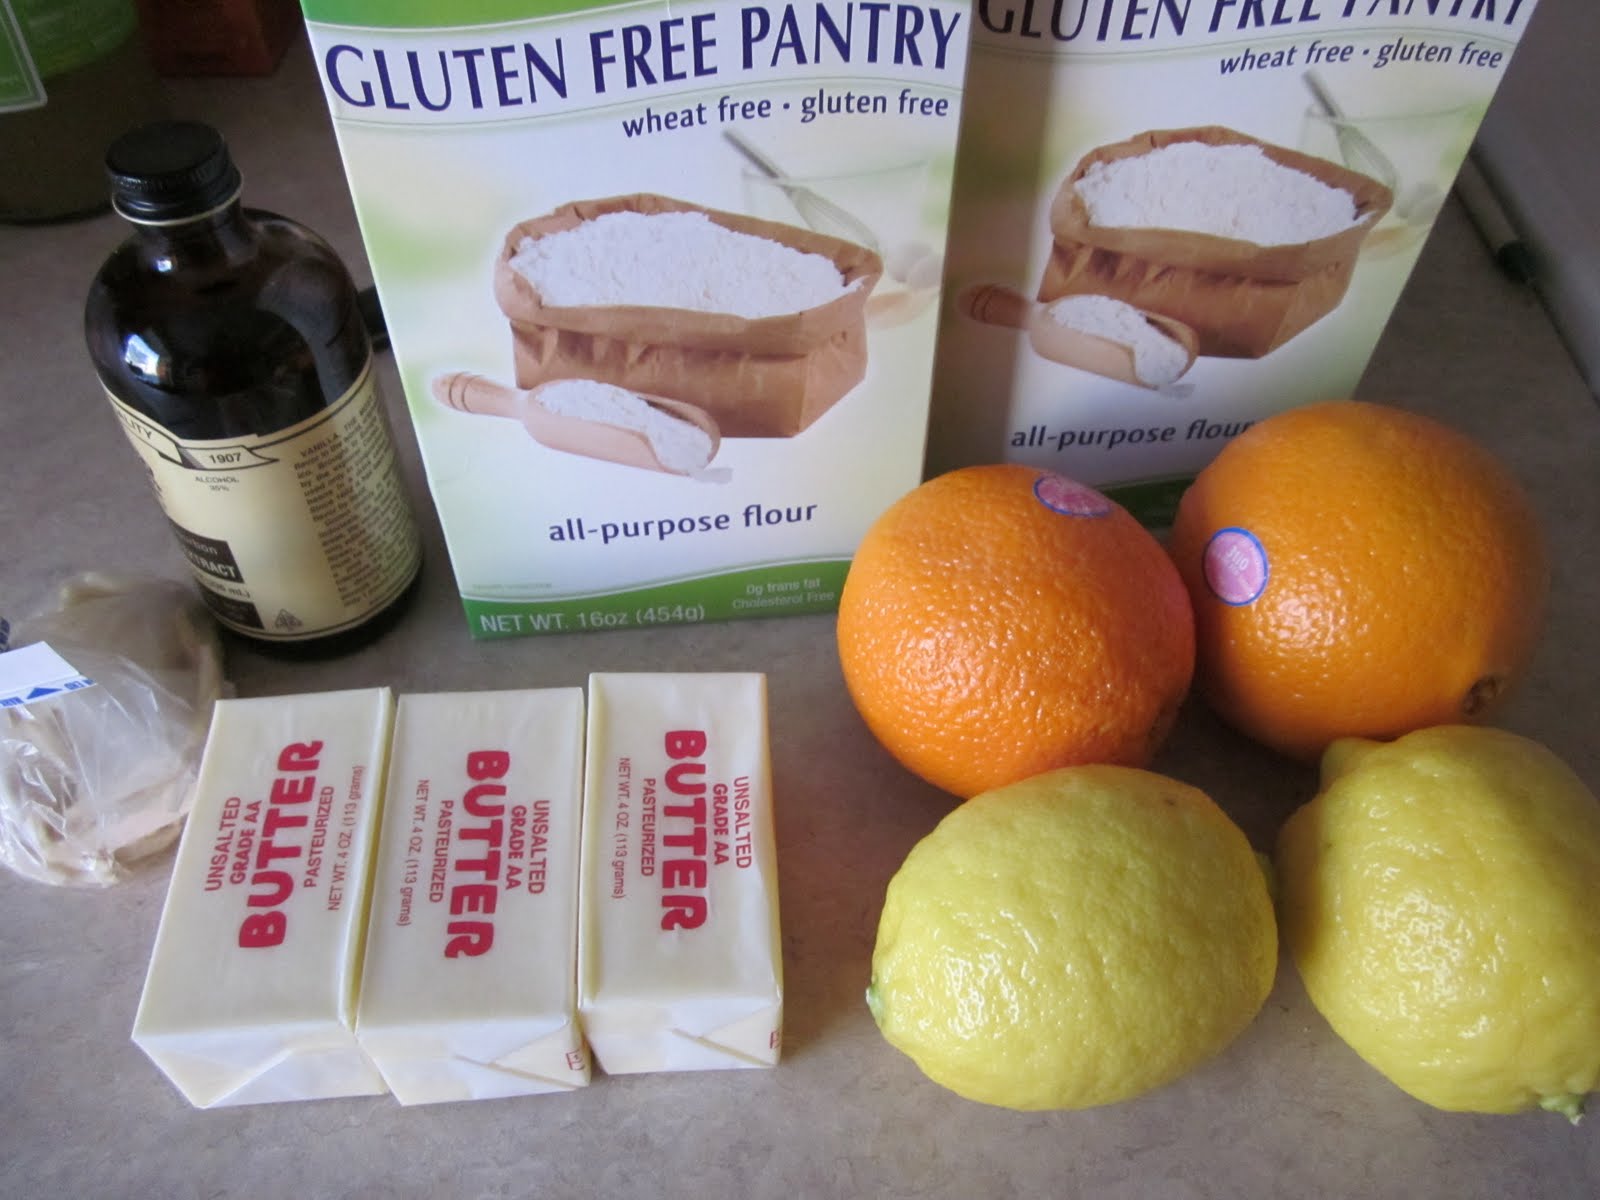
3 sticks butter
1 egg
2 tsp vanilla extract
1 box of Gluten Free Pantry flour
1/2 tsp baking powder
1/2 tsp salt
1/4 cup blanched almonds, chopped
Zest of 2 oranges
Zest of 1 lemon
2 tsp lemon oil

Glaze
3/4 cup granulated sugar
Juice of 1 orange
Juice of 1 lemon

Steps:
1. Preheat the oven to 350F. Line cookie sheets with parchment paper.
2. In a medium bowl, cream the butter and sugar until light and fluffy.

3. Add the vanilla, and beat in the egg.
4. In a medium bowl, mix the flour, powder and salt together. By the half cup, beat the flour into the butter mixture until smooth. Fold in the zests, almonds, and oil until thoroughly combined.
5. Drop by the spoonful onto the cookie sheets with each cookie half an inch apart from one another. Bake in the oven for 15 minutes or until the edge begins to brown. Let the cookies cool completely.
6. In a small bowl, whisk the sugar and juice together (the sugar will not fully dissolve in the juice. This will leave a nice, crunchy glaze on top of each cookie). Drizzle the glaze on top of each cookie.
7. Enjoy!