Thursday, April 28, 2011

0 Your Favorite Recipe of April


I can't believe it is almost May! This month has blown by quite fast, yet somehow I've managed to make a ton a recipes! As always, feel free to let me know how to improve on the blog through either the comments in this post or through the Contact Us page. Thanks everyone, and happy Spring!

The results are in! Results after the jump...

Wednesday, April 27, 2011

0 Backyard Garden: Part 2


Continuing from my post last month, my roommates and I continued to develop our backyard garden and our appreciate for local, organic foods.

Back in late March our tomato seeds grew into seedlings. We started gestating (the phase where the seeds turn into seedlings) in mid-March under the assumption that we would be able to plant them outside in early April. However, after a trip to our local farmer's market we grew to realize that the end of the danger of frost in Virginia is really around the first week of May. Oops....

Since we started gestation in March, the tomato and squash seedlings were rapidly outgrowing their little pods by the first weekend in April. We decided to transplant them to larger troughs for the duration of April so they could continue to grow, and began gestating some bell pepper plants as well. As an experiment to see how the plants would fair outdoors, we planted our bean plants and two of our tomato seedlings in the backyard to discover what would happen. 

Thus, April was a relatively tame month for the garden, except for this past weekend when we planted everything outside! But more on that later next week...

Happy Wednesday Everyone!

Monday, April 25, 2011

2 Gluten Free Lemon Drop Cookies

Photo styled by Mary
Hi everyone! I hope y'all had a good Easter weekend filled with family and relaxation.

This weekend I started reading the Ratio: The Simple Codes Behind the Craft of Everyday Cooking, a book about how many recipes can be reduced to simple ratios based on weight (not volume). For example, in this recipe the base is a ratio of 1 sugar : 2 fat : 3 flour to achieve the texture of a soft, chewy cookie. Also, by adding the egg and the baking powder to the ratio you can achieve a cookie a lighter texture and volume, ideal for springtime.

I hope you all enjoy this cookie, it has a wonderful texture that really melts in your mouth. And special thanks to Mary for being the food stylist for this post!

Yields: 30 cookies
Prep Time: 20 minutes
Cook Time: 15 minutes

Ingredients:
Cookie
2/3 cup sugar
3 sticks butter
1 egg
2 tsp vanilla extract
1 box of Gluten Free Pantry flour
1/2 tsp baking powder
1/2 tsp salt
1/4 cup blanched almonds, chopped
Zest of 2 oranges
Zest of 1 lemon
2 tsp lemon oil

Glaze
3/4 cup granulated sugar
Juice of 1 orange
Juice of 1 lemon

Steps:
1. Preheat the oven to 350F. Line cookie sheets with parchment paper.
2. In a medium bowl, cream the butter and sugar until light and fluffy.

3. Add the vanilla, and beat in the egg.
4. In a medium bowl, mix the flour, powder and salt together. By the half cup, beat the flour into the butter mixture until smooth. Fold in the zests, almonds, and oil until thoroughly combined.
5. Drop by the spoonful onto the cookie sheets with each cookie half an inch apart from one another. Bake in the oven for 15 minutes or until the edge begins to brown. Let the cookies cool completely.
6. In a small bowl, whisk the sugar and juice together (the sugar will not fully dissolve in the juice. This will leave a nice, crunchy glaze on top of each cookie). Drizzle the glaze on top of each cookie.
7. Enjoy!

Saturday, April 23, 2011

2 Gluten Free Teriyaki and Ricotta Meatballs


I love meatballs and pasta sauce; they were one of the meals when I was a kid. A few days ago I saw a meatball recipe on TV and wanted to make a variation on traditional meatballs. The meatball recipe is based on one of Rachael Ray's (link here) recipes. Instead of cooking them in tomato sauce, I saute the meatballs in a teriyaki sauce for a few minutes and serve it with rice. Its a nice combination of Italian and Asian flavors that any pork lover would like. Also, if you have any fresh parsley or oregano feel free to replace the dry herbs with them.

Yields: ~21 meatballs
Prep Time: 20 minutes
Cook Time: 25 minutes

Meatball Ingredients:
6 tbsp gluten free Glutino bread crumbs
1 lb ground pork
4 oz pancetta, diced finely
1 egg
2/3 cup ricotta cheese
1 tsp parsley
1 tbsp oregano
4 leaves fresh basil
1 tbsp onion powder
3 cloves garlic, minced
1/2 cup grated Parmesan Cheese

Teriyaki Ingredients:
5 tbsp gluten free soy sauce
1/2 tsp fresh grated ginger
1/2 tsp garlic powder
1/2 tsp onion powder
1/4 cup brown sugar
2 tbsp white wine
1 tsp paprika

Steps:
1. Preheat oven to 400F. Line a baking sheet with parchment paper.
2. In a medium pan over medium heat, cook the pancetta until browned. Remove the pancetta from the pan and let cool for about 5 minutes.
3. In a medium bowl, mix the all of the meatball ingredients until thoroughly mixed and evenly distributed. 
4. Form meatballs in your hands, about the size of your palm (about 2 inches wide), and place onto the cookie sheet an inch apart from one another. Bake in the oven for about 25 minutes, flipping them in between. 
5. While the meat balls are cooking, combine all the teriyaki ingredients in the pan that you cooked the pancetta in. Cook over low heat for about 5 minutes, leaving on low while the meatballs cook.
6. When the meatballs are done, place in the teriyaki sauce and saute on low heat for about 2-3 minutes. Serve with white or brown rice.

I hope you enjoy! Let me know your opinions on the recipe!

Tuesday, April 19, 2011

7 Reese's Gluten Free Cheesecake

gluten free, gluten-free, chocolate, Reeses, cheesecake

Earlier this week I received some 4.5 inch spring form pans. Spring form pans are pretty neat little tools that appear like a round cake pan, only the bottoms can be removed from the sides. This makes spring form pans useful for desserts (especially cheesecake) and deep dish pizzas.

I've never been a large fan of traditionally sized cheesecake. Cheesecake is a rather rich dessert, so eating an entire slice from a 9 inch pie does not sit well with me. That's why I was excited to make cheesecake in 4.5 inch pans. I wanted the opportunity to get the delicious taste and texture of cheesecake without it being a chore to finish eating. Also, in this recipe I leave some chunks of chocolate and peanut butter in the batter before placing it in the oven. I enjoy doing this because it produces tiny pieces of chocolate and peanut butter in the cake that simulates peanut butter cups. I hope you enjoy!

Yields: 4 4.5 inch cheesecakes
Prep Time: 30 minutes
Bake Time: 45 minutes
Inactive Prep Time: 4 hours

Ingredients:
Crust
1.5 cup gluten free graham cracker crumbs
6 tbsp butter, melted
.25 cup sugar

Filling
3 8oz cream cheese, room temperature
1 cup granulated sugar
5 eggs
1 tbsp vanilla
1.5 tsp espresso, room temperature
5 oz semi sweet chocolate chips
5 oz Reese's peanut butter chips

Steps:
1. Preheat oven to 350F.
2. In 2 bowls, microwave the chocolate chips and peanut butter chips at 15 second intervals, stirring in between. Do this until each is melted and creamy.
3. In a medium bowl, mix the crumbs, butter, and .25 cup sugar until combined. Press into the bottom of each spring form pan.
4. In a large bowl, beat the cream cheese and sugar until combined and creamy.
5. Beat in the eggs one at a time followed by the vanilla. Separate the batter in half into two bowls.
6. If the melted chocolate or peanut butter has started to solidify, place back in the microwave for approximately 10 seconds or until smooth again. Pour the chocolate and espresso into one batter and stir until combined. Pour the peanut butter into the other batter and stir until combined.
7. Place the spring form pans onto a cookie sheet. Pour the peanut butter batter into each of the pans, filling halfway. Top with the chocolate batter, 1/4 inch from the top of each pan. Place in the oven and bake for 45 minutes, or until the centers are set.
8. Cool on a rack for about 10-15 minutes, and then let set in the refrigerator for at least 4 hours.

When ready to serve, draw a kinfe around the perimeter of the pan to separate the cake from the side.

I hope you enjoy! What's your thoughts on the recipe? Also, what's your favorite flavor of cheesecake?

Saturday, April 16, 2011

0 Gluten Free Product Review: Tropical Traditions Gold Label Virgin Coconut Oil


This past week I received a free sample of Tropical Traditions Gold Label Virgin Coconut Oil to try. I read on Twitter and food blogs about how to cook with coconut oil and how to substitute it in recipes. 

How to use it in recipes? 
At first glance virgin coconut oil is very peculiar. I was confused when I opened the delivery box and discovered that the oil was solid, similar in appearance to shortening. This is because virgin coconut oil solidifies at a relatively low temperature, 75F. Therefore, coconut oil can be used as both a substitute for shortening and for oil. Also, from what I've read virgin coconut oil is high in antioxidants and is a good alternative to butter and other oils (more details on coconut oil can be found here). 

I like the flavor that coconut oil provides as a substitute because it has a fragrant coconut smell. To substitute for shortening or butter, simply use it at room temperature (assuming you don't live in a hot climate). If you want to use it in pie or cookie doughs, I recommend using half coconut oil and half butter/shortening in the recipe (thanks @JulesGlutenFree for the tip!). Example: If a cookie asks for 1/2 cup butter, substitute with 1/4 cup solid coconut oil and 1/4 cup butter. 

Coconut oil is also a great substitute for oil when frying or grilling, but only if you want a slight coconut taste to it. Don't use more than a tablespoon of coconut oil as a greasing agent, as it infuses a surprising amount of coconut flavor into your food.

Final Thoughts.
Virgin coconut oil is a great oil to add to your pantry as another oil to use in your everyday cooking and baking. It is high in antioxidants and is rather flexible to use as either a shortening or an oil. However, I'd only use it in recipes that are either tropical in nature or recipes that would benefit from the sweet accent of coconut. Otherwise you'll get an overwhelming sense of coconut where you wouldn't expect it. 

If you want to try virgin coconut oil, use this link while purchasing it to receive a complimentary copy of a Virgin Coconut Oil book. When purchasing, choose "Referred by a friend" and enter the code 7574415 and the book will be added to your order for free. 

Disclaimer: Tropical Traditions provided me with a free sample of this product to review, and I was under no obligation to review it if I so chose.  Nor was I under any obligation to write a positive review in return for the free product.

Thursday, April 14, 2011

14 Gluten Free Irish Potato Candies


A month ago if you had asked me what Irish Potatoes were, I'd tell you they were more than likely a method of cooking potatoes. A few weeks ago though, two of my friends brought me to a candy shop in Northern Virginia that has these delicious treats and I really wanted to try making some. Irish Potatoes are coconut and cream cheese nuggets that are rolled or dusted in cinnamon. Its a wonderful combination of sweet and creamy that's balanced out by the cinnamon. I've tried rolling these in cocoa powder, but they simply aren't as delicious as ones rolled in cinnamon.

Earlier this week I posted a recipe with virgin coconut oil in it, and mentioned that I would discuss it more in the latter half of this week. Virgin coconut oil is a great substitute in recipes that use butter or margarine, especially when you want a slight taste of coconut. Its high in antioxidants and can be a healthy addition to recipes.
Also in my preparation I use my mechanical pastry bag that I purchased from Williams-Sonoma that made the molding part rather easy. I tried finding it online, but had difficulty finding the model. Regardless, you could use any large pastry bag as long as the tip is between 1/4-1/2 inch thick, or else the candies will not turn out well.

I hope you like this recipe as much as my friends and I do!

Yields: ~3 dozen
Prep Time: 40 minutes
Inactive Prep Time: 20 minutes

Ingredients:
2 tbsp butter, room temp
2 tbsp virgin coconut oil
4 oz cream cheese
1 1/2 tsp vanilla extract
4 cups confectioners sugar
2 1/2 cup shredded coconut
2 tbsp cinnamon

Steps: 
1. In a medium bowl beat the butter and oil until combined. Beat in the cream cheese until fluffy.
2. Add the vanilla, and then beat in the sugar by the half cup (this prevents clouds of sugar flying everywhere and makes a more consistent batter). Beat in the coconut flakes until it forms a consistent mix.
3. Roll the dough into a ball and place into a refrigerator for 20 minutes for it to harden up a bit.
4. Either roll the dough into small logs with your hands, or use a icing bag or extruder to form 1" logs.
5. Once all dough is formed into balls or logs, roll in the cinnamon and lightly brush off the excess with a pastry brush. Store in an airtight container in a refrigerator, and leave at room temperature for 10 minutes before serving.

Wednesday, April 13, 2011

0 Other Food Blogs: Chicken Breast with Garlic Sauce


Last week I found a delicious post at The Gluten-Free Homemaker for Chicken Breast with Garlic Sauce. I decided to make it for dinner earlier this week, and wanted to share it with all of you. I only altered the recipe by replacing the bread crumbs with almond meal. I get the same crunchy golden crust, with a slight almond taste.

Monday, April 11, 2011

2 Gluten Free Coconut Berry Smoothie


Before college, I never really enjoyed drinking smoothies. Most of the time it was because I enjoyed junk food a lot more as a kid, but once I went to college and exercised more I grew to absolutely love smoothies. Not only are they wonderful beverages to cool you down after exercising, but they're so much healthier than ice cream or other frozen treats. 

In this recipe, I include coconut oil (its the first time I've used it in a recipe!) for the flavor and almond meal for a healthy alternative to protein powder. This was my first venture into using coconut oil in a recipe, and I really enjoy the taste that coconut adds to the smoothie. I'll be posting more on coconut oil later this week. I hope you enjoy!

Yields: Approximately 3 glasses of smoothie
Prep Time: 10 minutes

Ingredients:
1/2 cup milk, (2%, soy, or coconut)
5 oz frozen strawberries
5 oz frozen blueberries
5 oz frozen pineapple pieces
3 tablespoons almond meal
2 tablespoons melted coconut oil

Steps:
1. In a food processor, grind the fruit into a course mix or powder. Pour into a blender, into a bowl if you are using an immersion blender for the next step.
2. Blend the fruit, meal, oil, and milk until smooth and at the consistency that you prefer, adding additional milk if needed.

Sunday, April 10, 2011

0 Quick and Easy: Gluten Free Turkey and Bacon Biscuits


As a part of my experiment with Bisquick GF mix (see my review here), I decided to make some quick sandwiches out of them for dinner. For the pictures of this recipe, you'll see that I use biscuits made from Bisquick. Instead of Bisquick GF biscuits, I recommend using this recipe, which takes about 20 minutes to bake.

Yields: 10 sandwiches
Prep Time: 10 minutes
Bake Time: 20 minutes

Ingredients:
-10 Homemade buttermilk biscuits (recipe here, make slightly larger for sandwich use than recommended in recipe)
-Deli Turkey
-2 Slices Bacon
-Honey Mustard

Steps: 
1. Follow the recipe linked in the ingredients list.
2. As the biscuits bake, on medium low heat cook the bacon in a skillet. After about 5-6 minutes flip the bacon and cook for another 4 minutes. Remove from pan and pat dry with paper towels. Slice bacon into 2 inch pieces.
3. Slice the biscuits in half, and spread honey mustard onto the insides of the biscuits, layering turkey and bacon inside.

0 Gluten Free Review: Bisquick Gluten Free Mix


This past week some of my coworkers brought some Hardee's Biscuits and Fried Chicken in for lunch. Now, I haven't visited a Hardee's in years, partly due to gluten-free diet, but also due to my personal pledge to avoid fast food. But when I had a smell of those amazing biscuits I remembered when I was a kid and my mom would make us Bisquick biscuits and chicken for dinner.

Therefore, this weekend when I was at the store buying groceries, I decided to pick up and try the Gluten Free Bisquick mix, and share my opinion with all of you. Before delving in, I've tried a variety of other gluten free flour mixes. All I've tried before have had generally good success (aside from Bob's Red Mill All Purpose GF Flour, I'm not a fan of the taste), so I expected the Bisquick brand to be comparable.

For this test, I followed the recipe on the back of the box to make their gluten free biscuits, and substituted the call for regular milk with buttermilk. It only took about 20 minutes total to make, and surprisingly kept their shape really well.  However, I was really disappointed in the texture and dryness of the biscuits. The mix is primarily rice flour with the only other flour blend added being potato starch. I like rice flour and use it in many of my other recipes, but I believe it has to be blended with a variety of other flours. I read a few other reviews, and it seems rather unanimous that Bisquick's GF Mix is a disappointment.

Summary: Available in many mainstream stores, and relatively cheap. However, you pay for these with a grainy texture and dry baked goods. Grade: C-

Alternative Recommendation: For a relatively comparable cost and set of ingredients, but without the same grainy texture, try all purpose flour from the Gluten Free Pantry, or Jules Gluten Free All Purpose Flour. For alternative buttermilk biscuit recipes, go here.

Thursday, April 7, 2011

2 Gluten Free Apple Pie Cookies


After a rather busy/difficult week at work, I decided to make some irresistible cookies that I would have no problem eating an entire plate of. Well, mission accomplished. (Served with whipped cream or vanilla ice cream exponentially increases their awesomeness BTW).

These are pretty easy cookies to make, and I was able to make an entire batch on three medium sized cookies sheets.. These are also a fun cookie to make with others, as you can have friends or kids top each cookie with apples and crumbs.

If you're search for that awesome flaky texture mixed with cinnamon apple goodness, look no further than these. If you make them, I hope you get the same kind of apple pie sensation I did!

Prep Time: 20 minutes
Bake Time:15 minutes
Makes: 2 dozen cookies


Cookie Ingredients
Dry Ingredients:
1 1/2 cup gluten free flour blend (for this one I used a store brand composed of rice flour, tapioca starch, potato starch, and guar gum)
1/2 tsp baking powder
1/2 tsp baking soda
pinch of salt
1 tsp cinnamon
Wet Ingredients:
1/2 cup butter, room temperature
1/2 cup brown sugar, packed
1/4 cup white sugar
1 egg
1 tsp vanilla

"Apple Pie" Filling Ingredients
2 Pink Lady apples
1 tsp cinnamon
1 1/2 tsp brown sugar
1/4 tsp salt

Topping Ingredients
2 tsp butter, room temperature
1/4 cup gluten free graham cracker crumbs
1/8 cup pecans, chopped
1 tbsp maple or white sugar

Steps
1. Preheat oven to 350F. Line cookie sheets with parchment paper.
2. In a medium bowl, mix the dry ingredients together. In another medium bowl, whisk the butter until light and fluffy. Beat in the 1/2 c brown sugar and 1/4 c white sugar by the 1/4 cup.
3. Once the sugar and butter are combined, beat in the vanilla and the egg. Whisk in the flour by the half cup.
4. Filling: Peel and dice the apples, and place into a small bowl. Mix with the sugar, cinnamon, and salt.
5. Topping: Mix together the topping ingredients in a small bowl until it forms a crumb like texture.
6. Form the cookies: Drop the cookies onto the cookie sheets in 2 tablespoon balls, 1-2 inches apart. Push in the middle of each ball lightly, and fill with 3-4 apple pieces. Top with topping crumbles. Place in the oven and bake for 13-15 minutes until golden brown around the edges. Once cool, serve with ice cream.

Tuesday, April 5, 2011

16 Arugula Pine Nut Sushi Rolls


This past Christmas, my roommates and I participated in a Secret Santa gift exchange. I gave one of my roommates a sushi book by the name of vegetarian sushi by Brigid Treloar as a gift because he had wanted to learn how to make various types of sushi. This past weekend we decided to make the spinach pine nut sushi and try it out. I wanted to share some of the basics of sushi making with yall without posting the full recipe from her book. I can say that we've made various types of sushi from vegetarian sushi, and enjoyed everything made so far. I totally recommend it, as its a fairly straightforward and affordable cookbook.

Making Sushi Rice

Prep Time: 40 minutes
Estimated Cook Time: 20 minutes for 1 cup of sushi rice
Inactive Cook Time: 10 minutes

Making good sushi rice can be a fairly complex process, but with the proper knowledge can be relatively easy, albeit time consuming. On the bright side, a lot of the prep and cook time doesn't require your attention and you can do other things at the time.

Ingredients
1 cup sushi rice
1 1/8 cup water
3 tbsp rice or white vinegar
1 tbsp sugar

Steps

  • Cover the sushi rice with water, and agitate. After agitation, drain the water, and repeat the process 3-4 times or until water becomes fairly clear. At first the water will become cloudy from the starches, but with each drain the water will become clearer. Rinsing out the rice in this manner removes the extra starch from the rice.
  • Drain the rice, and pour cool water over the rice for about 5 minutes. Drain completely and let sit for about 20 minutes.
  • Cook the rice in a rice cooker with the water.
  • Spread the cooked rice over a wooden board or parchment paper. Drizzle with a mixture of vinegar and sugar, and gently keep the rice moving for about 10 minutes.


Filling Ingredients


-2 handfuls of baby arugula, blanched and diced
-1 tsp of sesame oil
-1 handful toasted pine nuts
-2 sheets nori, each cut in half

Filling steps
Mix the arugula and sesami oil.
Take a sheet of nori, and spread a thin layer of rice on the lower 2/3. Layer arugula and nuts over top.
Tightly roll the sheet from the bottom up until you reach the top. Spread water on top of the nori not covered in rice, then slice into rolls.

Sunday, April 3, 2011

0 GF Almond Lemon Pound Cake with Raspberry Balsamic Sauce


Hey! I hope everyone had a good weekend! This weekend I decided to experiment with a flour that I haven't dealt with before, almond flour.

Almond flour consists of ground up blanched almonds, and is rather popular in the world of gluten free, judging from blogs and such I've searched through. One of my friends on Twitter, @GlutenFreeFinds, referred me to Elana's Pantry, a gluten free blogger who's written several cookbooks on using almond flour. In summary, almond flour is high in protein and healthy fats, and is low in carbohydrates. The major con that kept me from trying almond flour all this time is the price: its the most expensive gluten free flour I've come across, at ~$15 per pound. Yikes. But if you want to risk the cost for the taste of it, please go to Elana's Pantry to learn everything you'd want to know about almond flour. It's a fantastic resource. The one thing I've learned is that Bob's Red Mill almond flour is not the best out there. Elana mentions it on her blog, and I back her up on it, the texture while cooking comes out overly wet, and takes longer to bake. Once again, go to her blog for more suggestions on where to get the best almond flour, and for a lesser cost than $15 per pound.

Along with trying a new flour in baking gluten free desserts, I wanted to make a cake with a fresh citrus flavor to celebrate the coming of spring (I don't know about others, but I've always associated the freshness of citrus with spring). In the recipe I include how to make a raspberry balsamic sauce that I like to pair with the cake. It provides a good counterbalance to the sweetness of the cake and ice cream (if you decide to serve it with ice cream, which I wholly recommend).

Also, I would like to mention ICCK's gluten free pound cake, as this cake recipe is a variation of that one.

Prep Time: 15 minutes
Bake Time: 1-1.5 hours
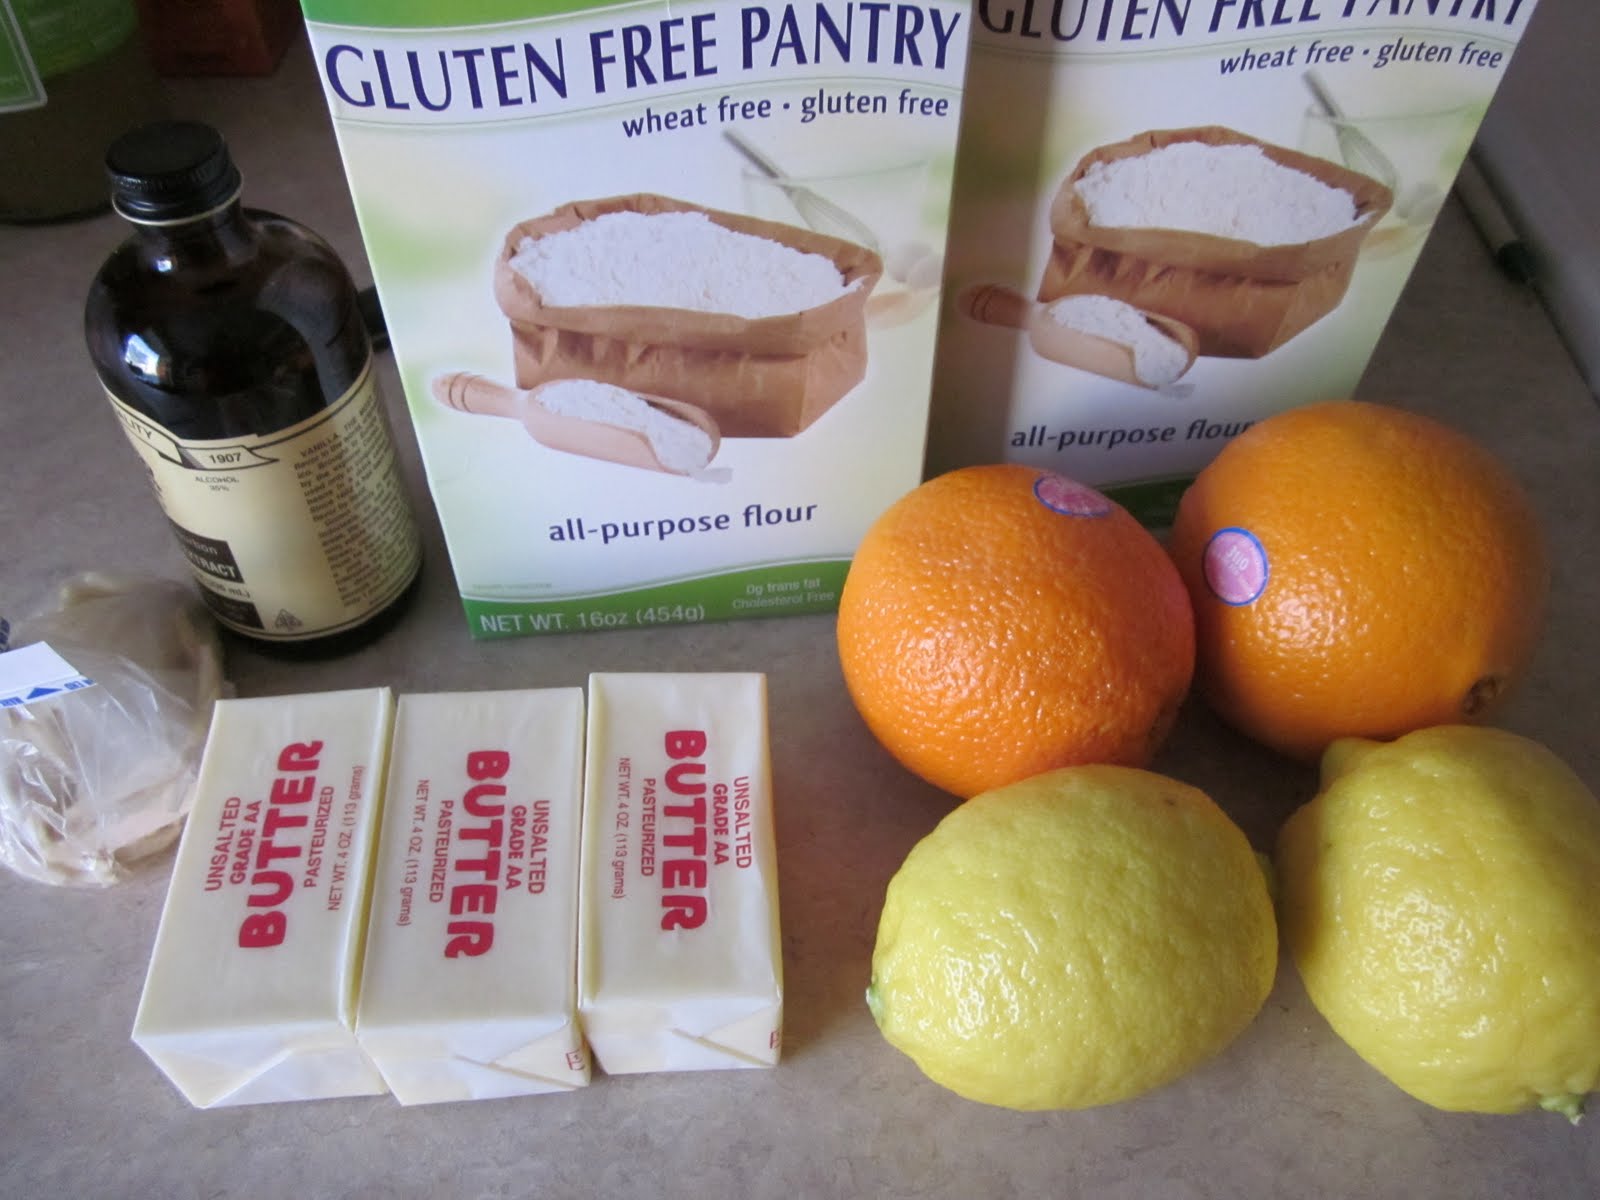
Cake Ingredients:

  • 3/4 cup + 2 tbsp butter, room temperature, cubed
  • 1 1/2 cup sugar
  • 5 eggs
  • 1 tbsp vanilla extract
  • zest and juice of 2 lemons
  • 2 cups almond flour
  • 2 tsp baking powder
  • 1 tsp salt
  • Raspberry-Balsamic sauce (optional, recipe below)
Steps:
1. Preheat the oven to 325F, and grease and flour (with almond flour) the inside of a bundt pan.
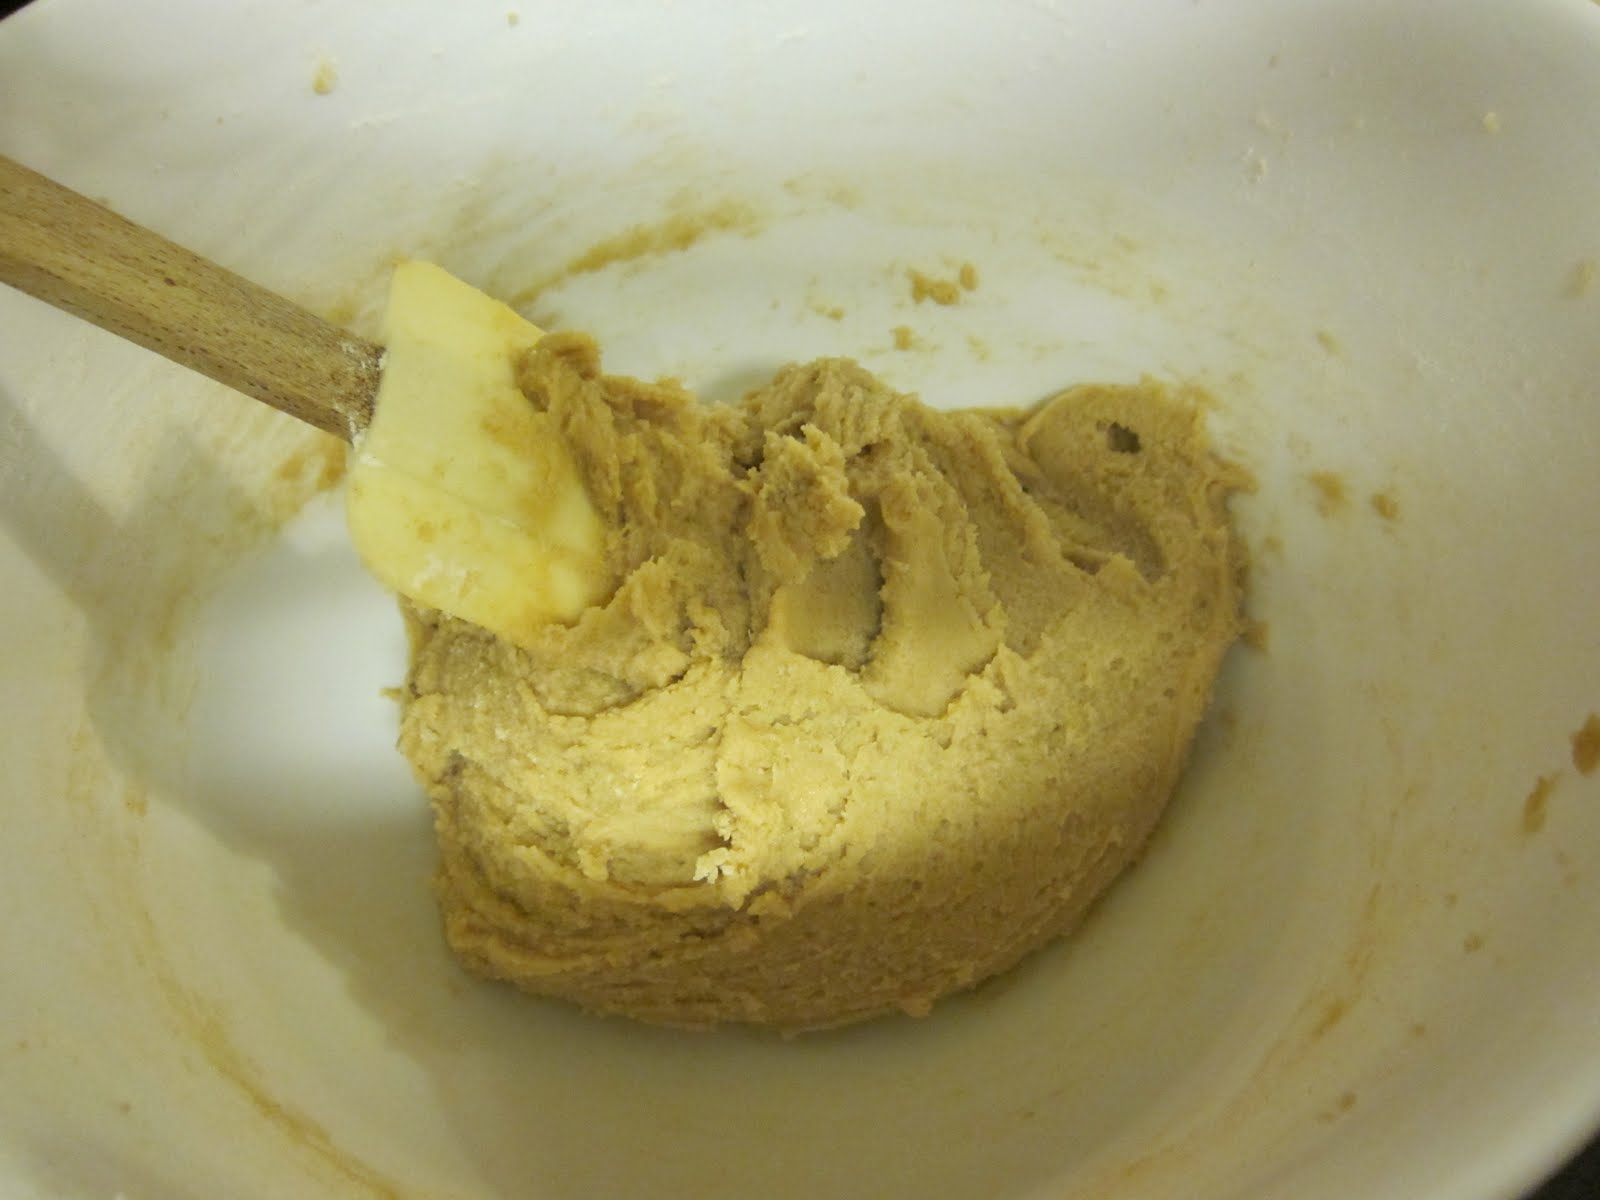
2. In a medium bowl, beat the butter until fluffy. Beat the sugar in by the half cup until creamy.
3. Beat in each egg one at a time. After the last egg, beat in the vanilla and lemon zest and juice.
4. In a small bowl, mix the flour, powder, and salt. Slowly beat the flour into the wet mix by the half cup.
5. Pour the batter into the prepared bundt pan, and place in the oven for at least an hour. Once the edges brown and a toothpick comes out clean and dry, remove the cake from the oven and let it rest for 10 minutes before removing from the pan.
6. Slice and serve with ice cream (optional) and sauce (also optional, recipe follows).


Raspberry-Balsamic sauce


Ingredients:

  • 4 oz of raspberries
  • 1 tbsp balsamic vinegar
  • 1/2 tsp honey
  • 1/2 tsp vanilla extract
  • zest of one lemon
  • dash of pepper


Steps:
1. Preheat a small pan on low heat. Cut 3oz of the raspberries in half, and cook until berries have loosened, and become jam-like.
2. Press the jam through a fine strainer or cheesecloth to remove the seeds, and return to the pan.
3. Add all other ingredients, and increase heat to medium low. Cook the sauce for about 5 minutes. Cool and serve with the cake.